The second most important component of producing 3D animations: lighting
In my previous post, I mentioned how important modeling was to producing 3D animations. While I still believe this to be true, there is a close second to modeling I’ve been learning about. In this post, I want to explore the techniques I used for lighting this scene in Cinema 4D.
Here’s a little background on the project.
I was chatting with a co-worker of mine, Paul, a couple weeks back about how I was trying to learn more about 3D modeling. I told him I’m looking for anything to model. Now Paul is quite the lego fanatic. I’m talking about having-to sell-your-furniture-to-make-space-for-your-lego-sets fanatic. He actually had just brought in some of his favorite characters to showcase to a few other co-workers. That’s when he showed me this little guy:
Paul’s favorite lego character.
I decided my next project would be to complete a 3D render of this lego character for Paul. Who knows?! If he likes it enough, I might try making a little animated short for it once I get enough modeling projects under my belt. I’ll probably go more into the modeling process once I’ve actually got a process worth noting. Anyway, here’s the finished product:
I had a blast figuring this guy out. I didn’t have any instructions, and much like any creative project, I had to stumble through plenty of “a-ha” moments. The hardest part of this whole project was learning how to make his T-shirt in Photoshop as that’s a program I’ve tried to avoid. Don’t do that. The face was made in Illustrator and the grass is a hair object I found from a fellow lego-man-modeler. It seems like modeling a lego character is very similar to programming your first “Hello World” program. Everybody does it. And yeah, it’s simple, but you have to start somewhere.
You don’t always need a 3-point light set-up
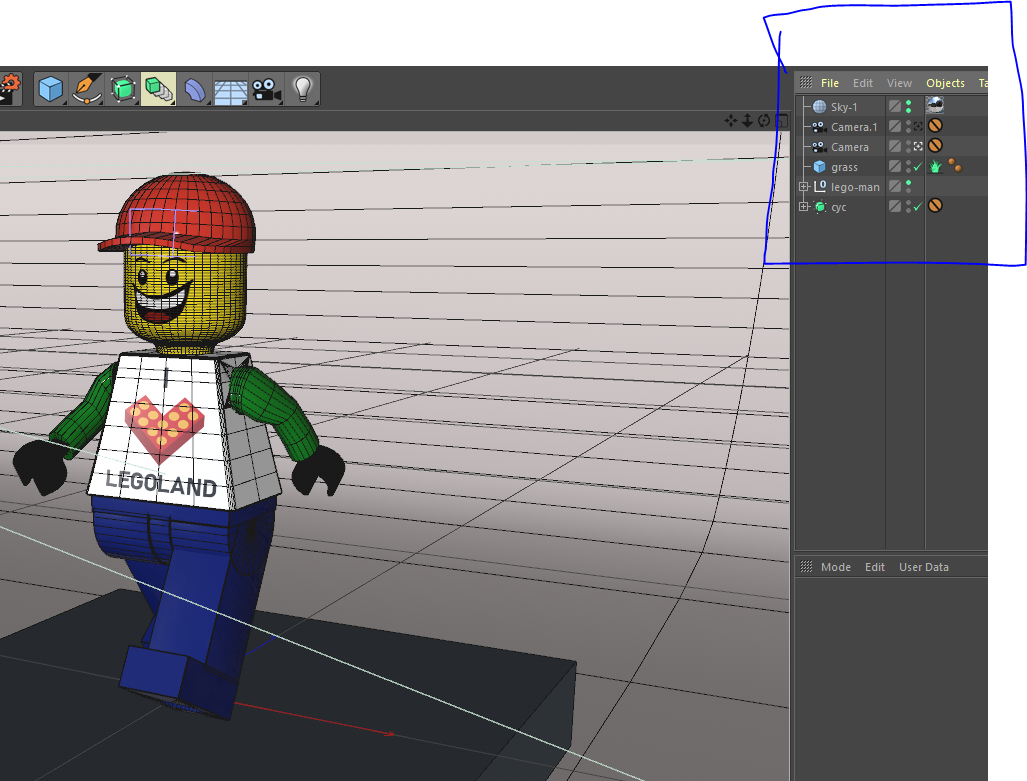
If you examine my scene, you’ll notice I don’t actually use any light objects. All I have is the lego guy, a “cyc wall,” some grass, a couple of cameras and a sky object.
I got the shadows on the grass and the highlights on the right side of the character by using a combination of a sky object and an HDR image. When first starting out with Cinema 4D, it’s easy to think light objects make the most sense for lighting scenes. While they can certainly work, they aren’t your only option.
You can get tons of HDR images for free through HDRI Haven. Here’s the link to access the one above: https://hdrihaven.com/hdri/?h=flower_road.
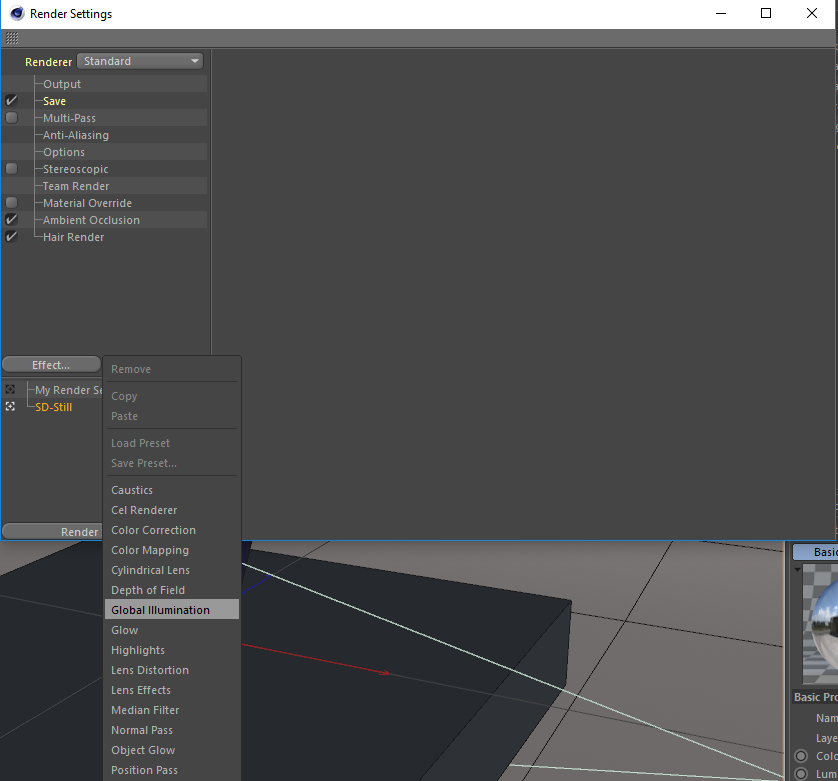
Now it’s not enough to simply put the HDRI as a texture in your sky object. You also have to use a process in Cinema 4D called “Global Illumination.”
Cinema 4D pro, EJ Hassenfratz, has an excellent tutorial on lighting scenes with Global Illumination. I honestly just found it while writing this post and wish I would’ve seen it sooner! In case you don’t have 40 minutes to spare to watch his video just yet, think of Global Illumination as a special process in 3D rendering software that allows objects to reflect light onto other objects.
How to enable GI…
To use the process it’s as simple as adding Global Illumination to your render settings.
Final render (without Global Illumination)
Final render (with Global Illumination)
Why does Global Illumination look so much more realistic?
This is basically how the “real world” works which is why when you compare the two images below, the one without GI looks way less “realistic.”
Anybody who’s done enough filming knows that the most important element of photography is lighting. After all, what is a camera but a device that captures light? The “camera” in Cinema 4D is no different. Don’t go through the trouble of creating great models and not know how to light it.


